
Install Devario
Install Devario from a USB drive, then check your first login.
The screenshots use Devario 2026.10.31 and show the English installer, an erased disk and an encrypted ext4 system. Choose your own language, keyboard and disk. Select a screenshot to open it at full size.
Before you start
Section titled “Before you start”- Check Hardware and status, especially the x86-64-v3 CPU target and graphics support. Installation requires 64-bit UEFI, not legacy BIOS mode. Devario does not configure Secure Boot for this image.
- Use a USB drive you can erase; 8 GB or larger is a practical choice. You also need a separate disk for the Devario installation.
- The installer checks for at least 2 GiB of RAM and 12 GiB of storage. These are the installer’s minimum checks, not a recommendation for everyday use. Leave more space for applications, updates and your files.
- Connect a laptop to power. Internet access allows the installer to update packages; the base system is included on the image and can be installed offline.
- If your existing system uses BitLocker or device encryption, save its recovery key before changing firmware settings. Keep backups disconnected while choosing the installation disk.
Download and verify the image
Section titled “Download and verify the image”Open the Seafoam Labs homepage and find the Devario section. Select Get the ISO to download the image and SHA-256 beside it to download the matching checksum. Save both files in the same folder.
Open a terminal in the download folder. The commands below use 2026.10.31.
If you downloaded a newer release, use its matching filenames instead.
sha256sum -c devario-2026.10.31-x86_64.iso.sha256Continue only if it reports devario-2026.10.31-x86_64.iso: OK.
shasum -a 256 -c devario-2026.10.31-x86_64.iso.sha256Continue only if it reports devario-2026.10.31-x86_64.iso: OK.
Get-FileHash .\devario-2026.10.31-x86_64.iso -Algorithm SHA256Open the .sha256 file in a text editor and compare its entire hash with
PowerShell’s result. Letter case does not matter; every digit must match.
Do not write or boot an image that fails verification. Check that both files belong to the same release. If needed, download them again using the homepage buttons.
Prepare the USB drive
Section titled “Prepare the USB drive”Use a disk-image writer such as balenaEtcher, available for Linux, Windows and macOS:
- Insert the USB drive and open the writer.
- Select Flash from file and choose the verified
.isofile. - Select Select target, then identify your USB drive by model and capacity.
- Recheck the target, select Flash!, and wait for writing and validation to finish. Allow the writer’s administrator prompt only after checking the target.
- Safely eject the USB drive when the writer has finished.
Do not simply copy the ISO file onto a normally formatted USB drive. If your system offers to format the drive after flashing, cancel that prompt.
Boot the live desktop
Section titled “Boot the live desktop”- Insert the USB into the computer where you want to install Devario and restart.
- Open its one-time boot menu. Check your computer’s instructions for the key to press.
- If Secure Boot is enabled, disable it in the firmware settings for this image, following your device’s instructions and any administrator policy.
- Choose the USB’s UEFI entry, not its legacy/BIOS entry, then start Devario from the image’s boot menu.
- Wait for the live desktop. Test your keyboard, display, pointer and networking
before changing the disk. The live session uses
liveuser; it is not your future installed account. - Open Install Devario from the application launcher.
If you are unsure about the boot mode, open a terminal in the live desktop and run:
test -d /sys/firmware/efi && cat /sys/firmware/efi/fw_platform_sizeThe check must print 64. Otherwise, stop and restart using the USB’s 64-bit
UEFI entry. The installer checks this before partitioning.
Follow the installer
Section titled “Follow the installer”1. Welcome
Section titled “1. Welcome”Choose the language at the bottom of the welcome page, then select Next. This controls the installer interface; review the installed system’s language and regional formats on the next page too.
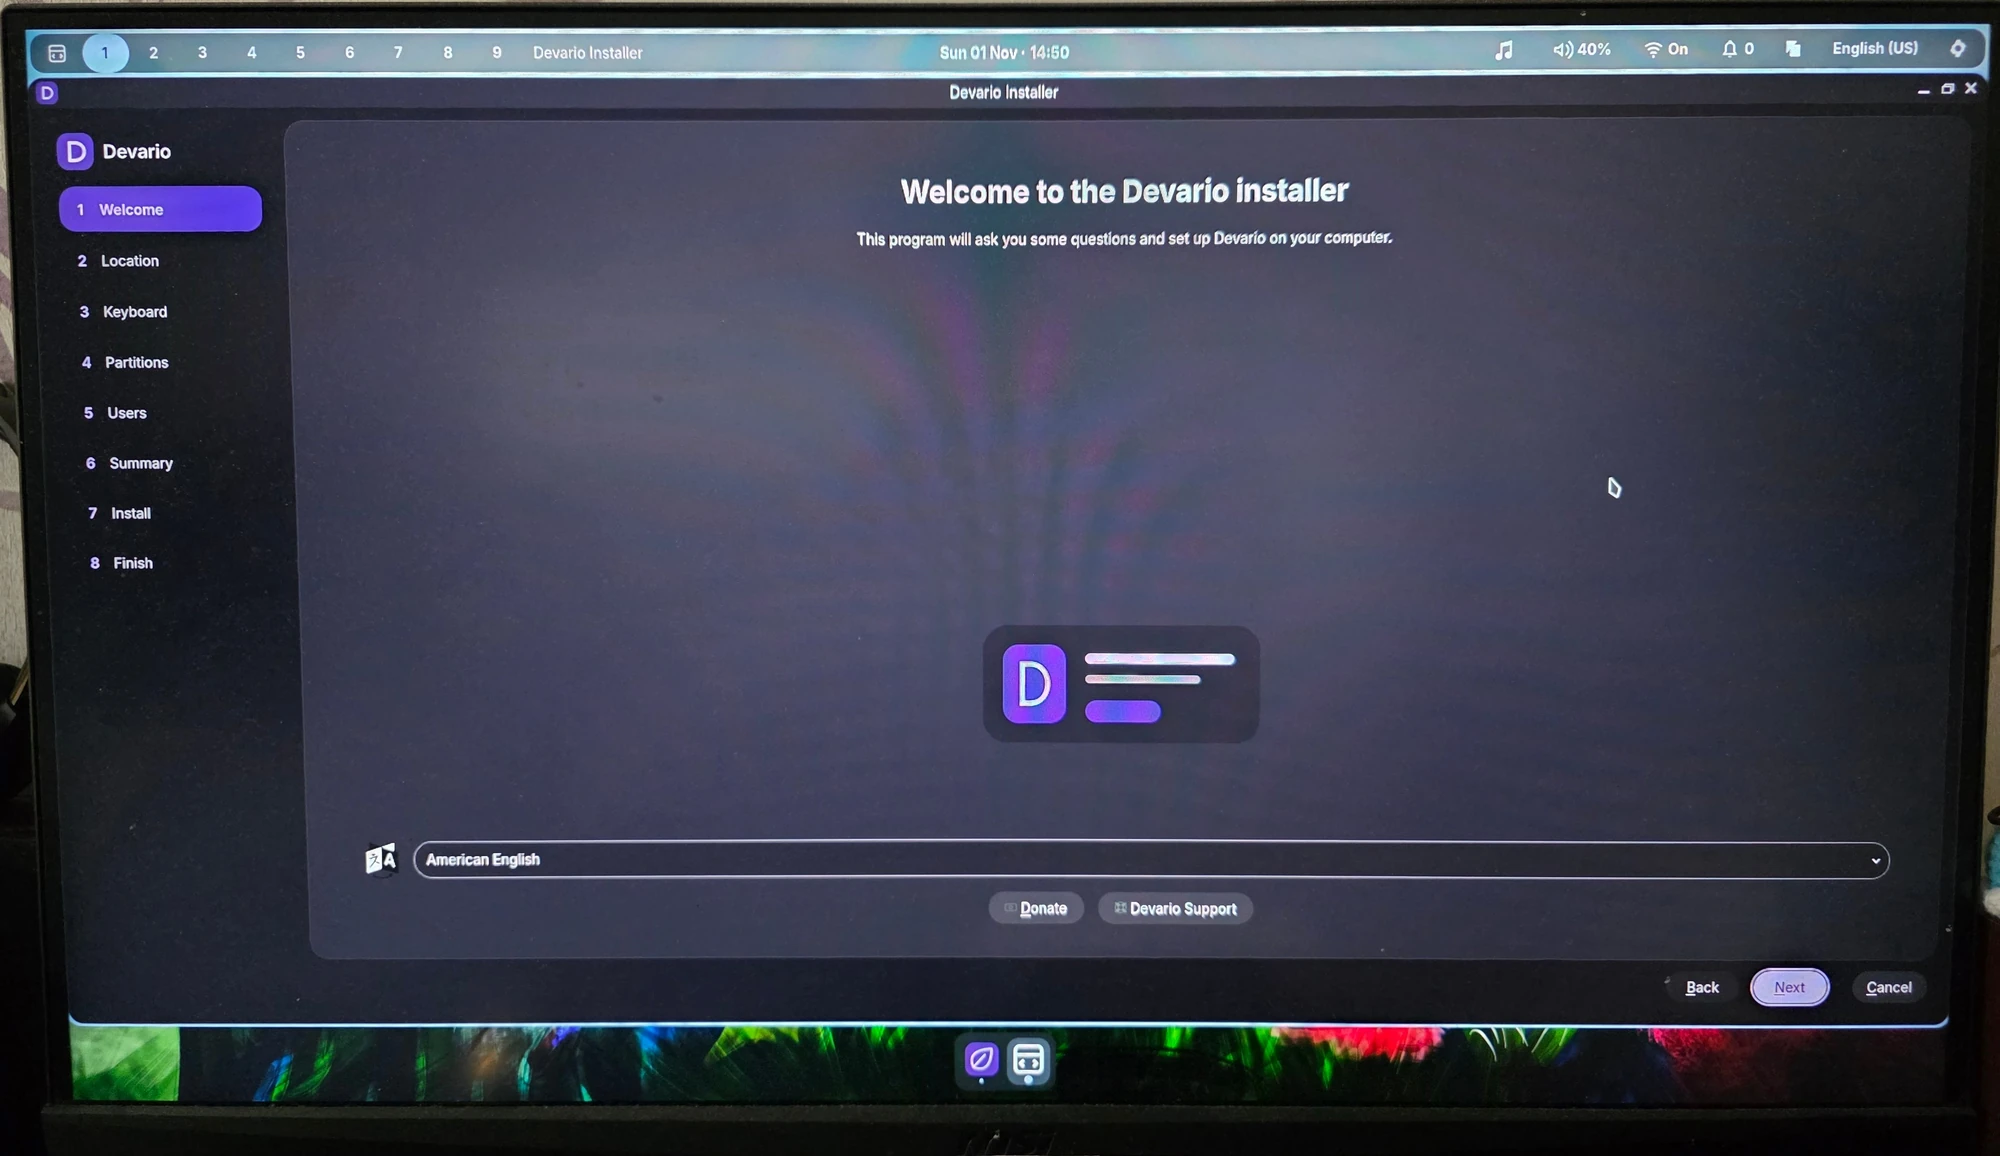
Welcome, with American English selected for this example.
2. Location
Section titled “2. Location”Select your Region and Zone using the map or the lists. Check the system language and the date and number formats below the map. Use Change… to adjust them, then select Next.
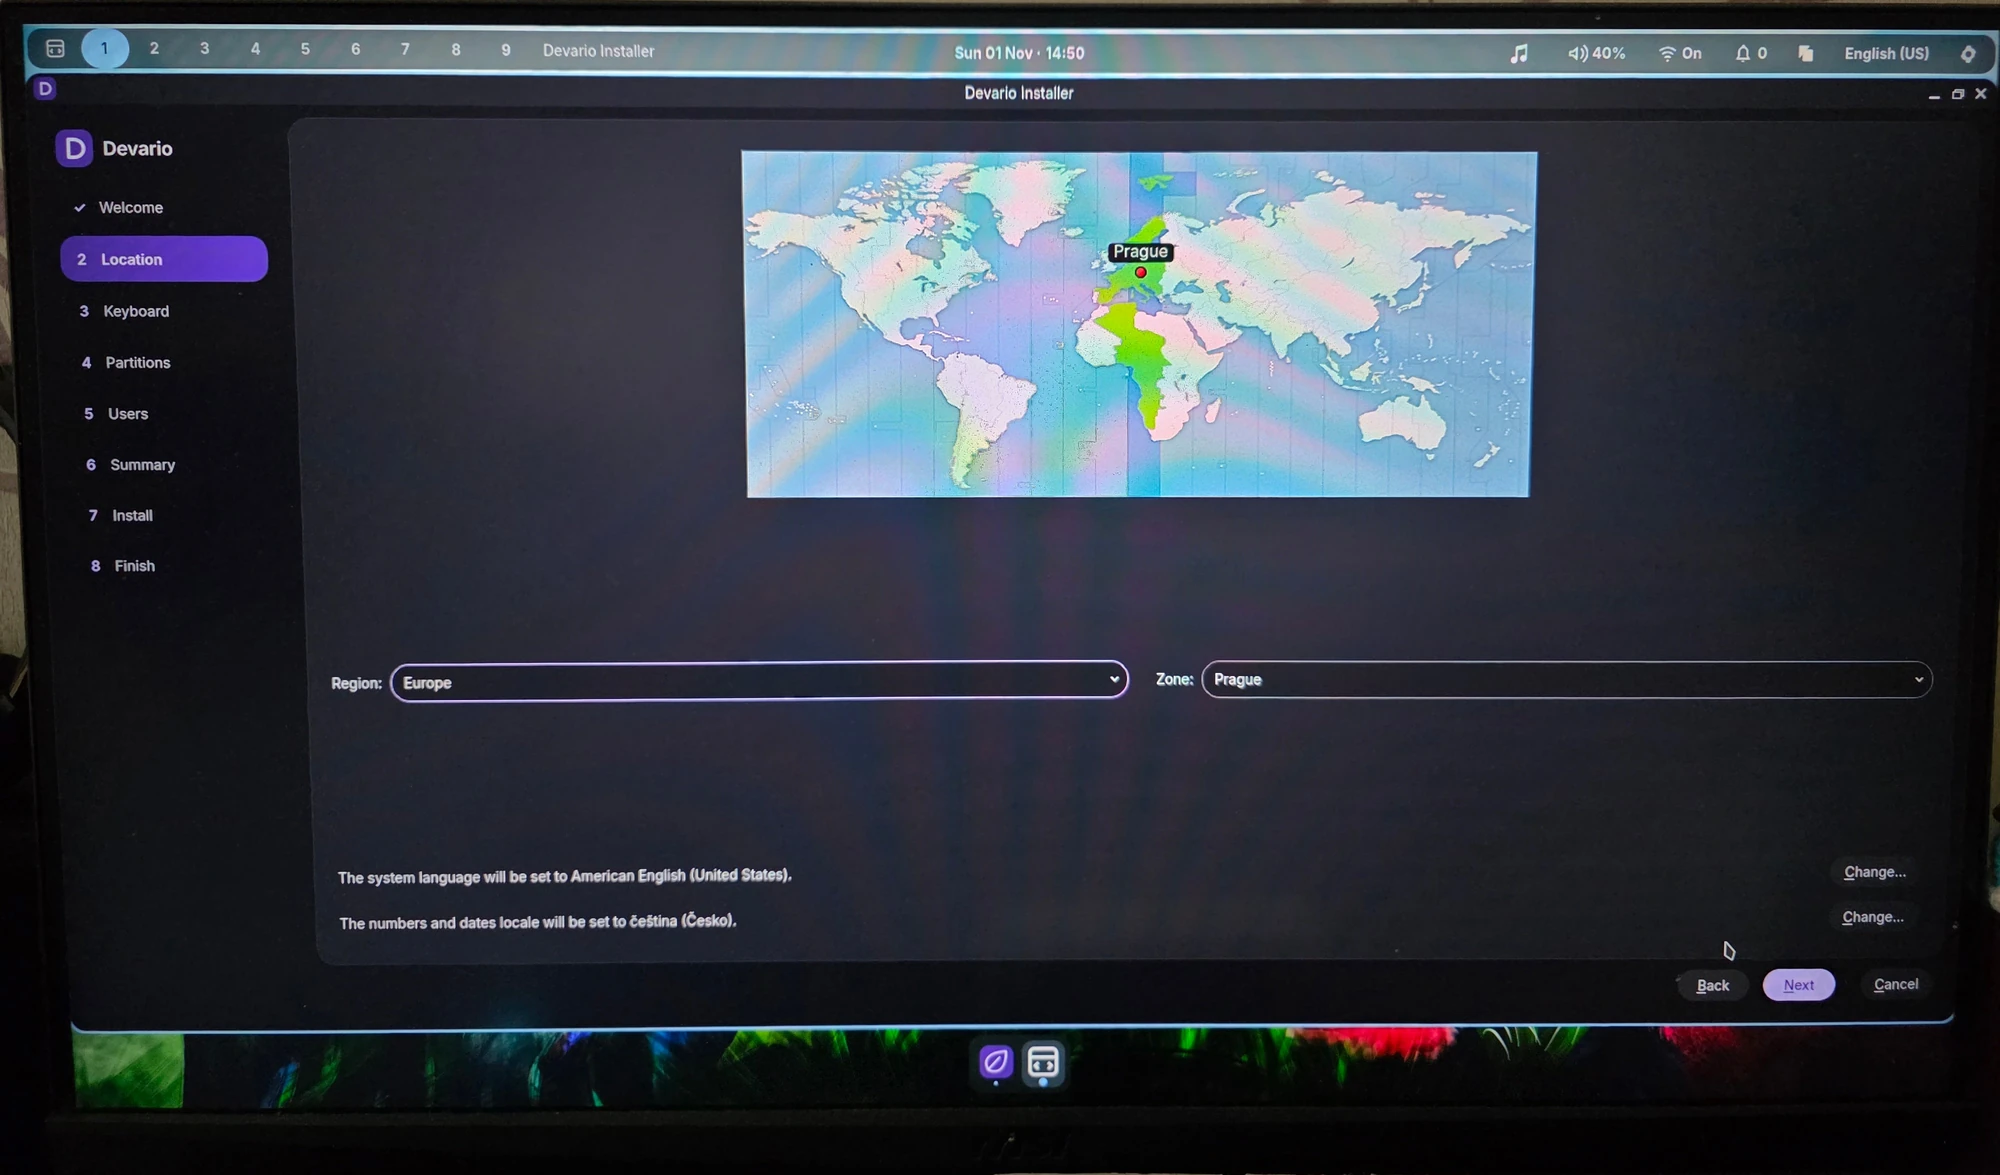
Example: Prague time zone, English system language and Czech date formats.
3. Keyboard
Section titled “3. Keyboard”Choose your keyboard model, layout and variant. Type in the test field to check letters, numbers and symbols, especially characters you plan to use in passwords. Do not enter a real password into the visible test field. Select Next when the layout behaves as expected.
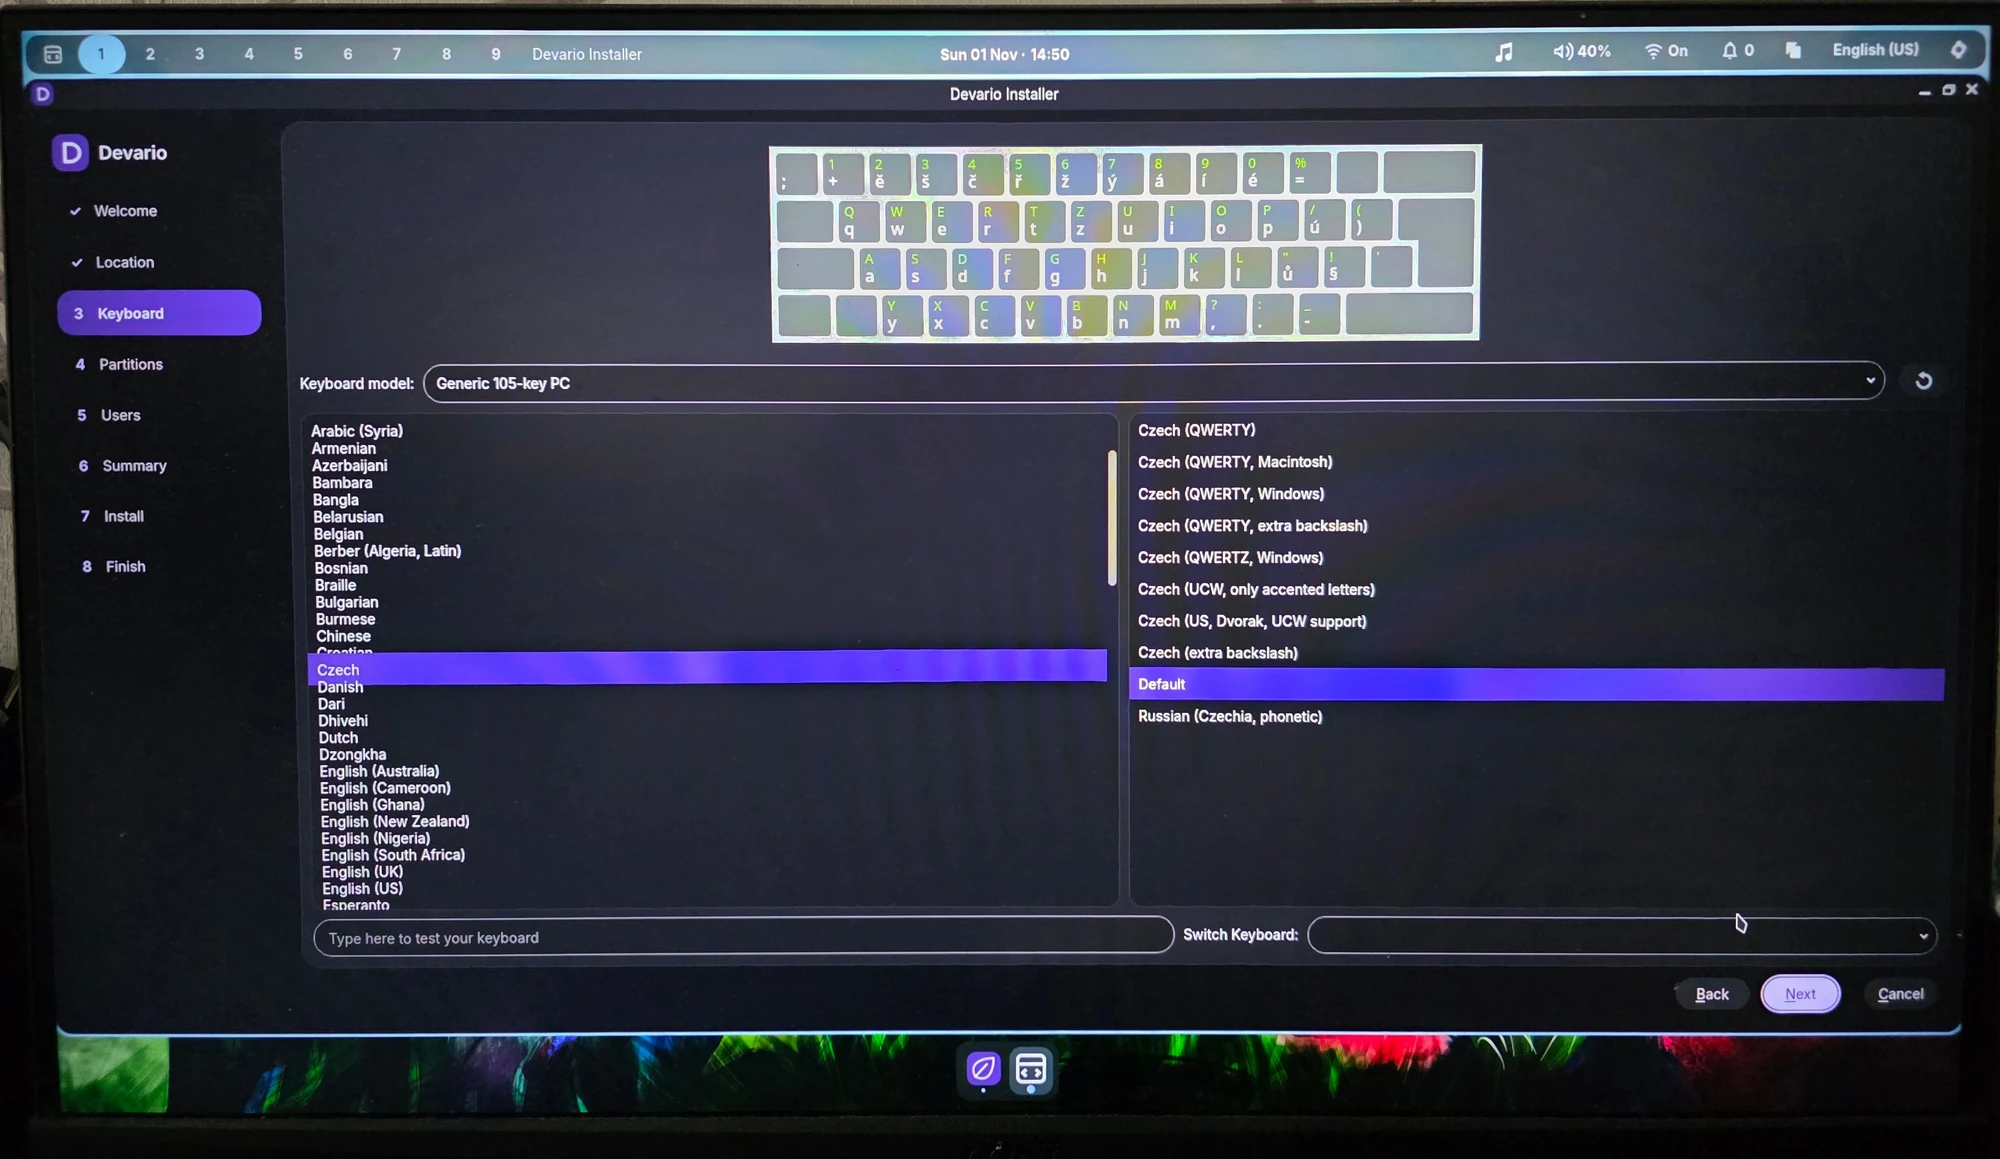
Example: Generic 105-key PC, Czech layout and Default variant.
4. Partitions
Section titled “4. Partitions”- Use Select storage device to choose the installation disk. Do not select the installer USB or a backup drive.
- For a clean installation that replaces everything on that disk, choose Erase disk. Replace a partition and Manual partitioning are different workflows and are not covered here.
- Choose the filesystem and swap option. This ISO defaults to ext4 and No swap; Btrfs, XFS and F2FS are also available. No swap means the installer will not create disk swap. Do not assume hibernation will work with this layout.
- If you want an encrypted system partition, enable Encrypt system, enter a strong passphrase twice and store it safely. If you leave it unchecked, the system partition will not be encrypted by this option.
- Check the Current and After diagrams, then select Next.
The encryption passphrase unlocks your disk; it is separate from your account password. Keep a safe copy you can access before logging in. Losing it can make your data inaccessible.
The EFI boot partition remains unencrypted. The example shows a 4 GiB FAT32 boot partition and a LUKS system partition; sizes depend on your disk.
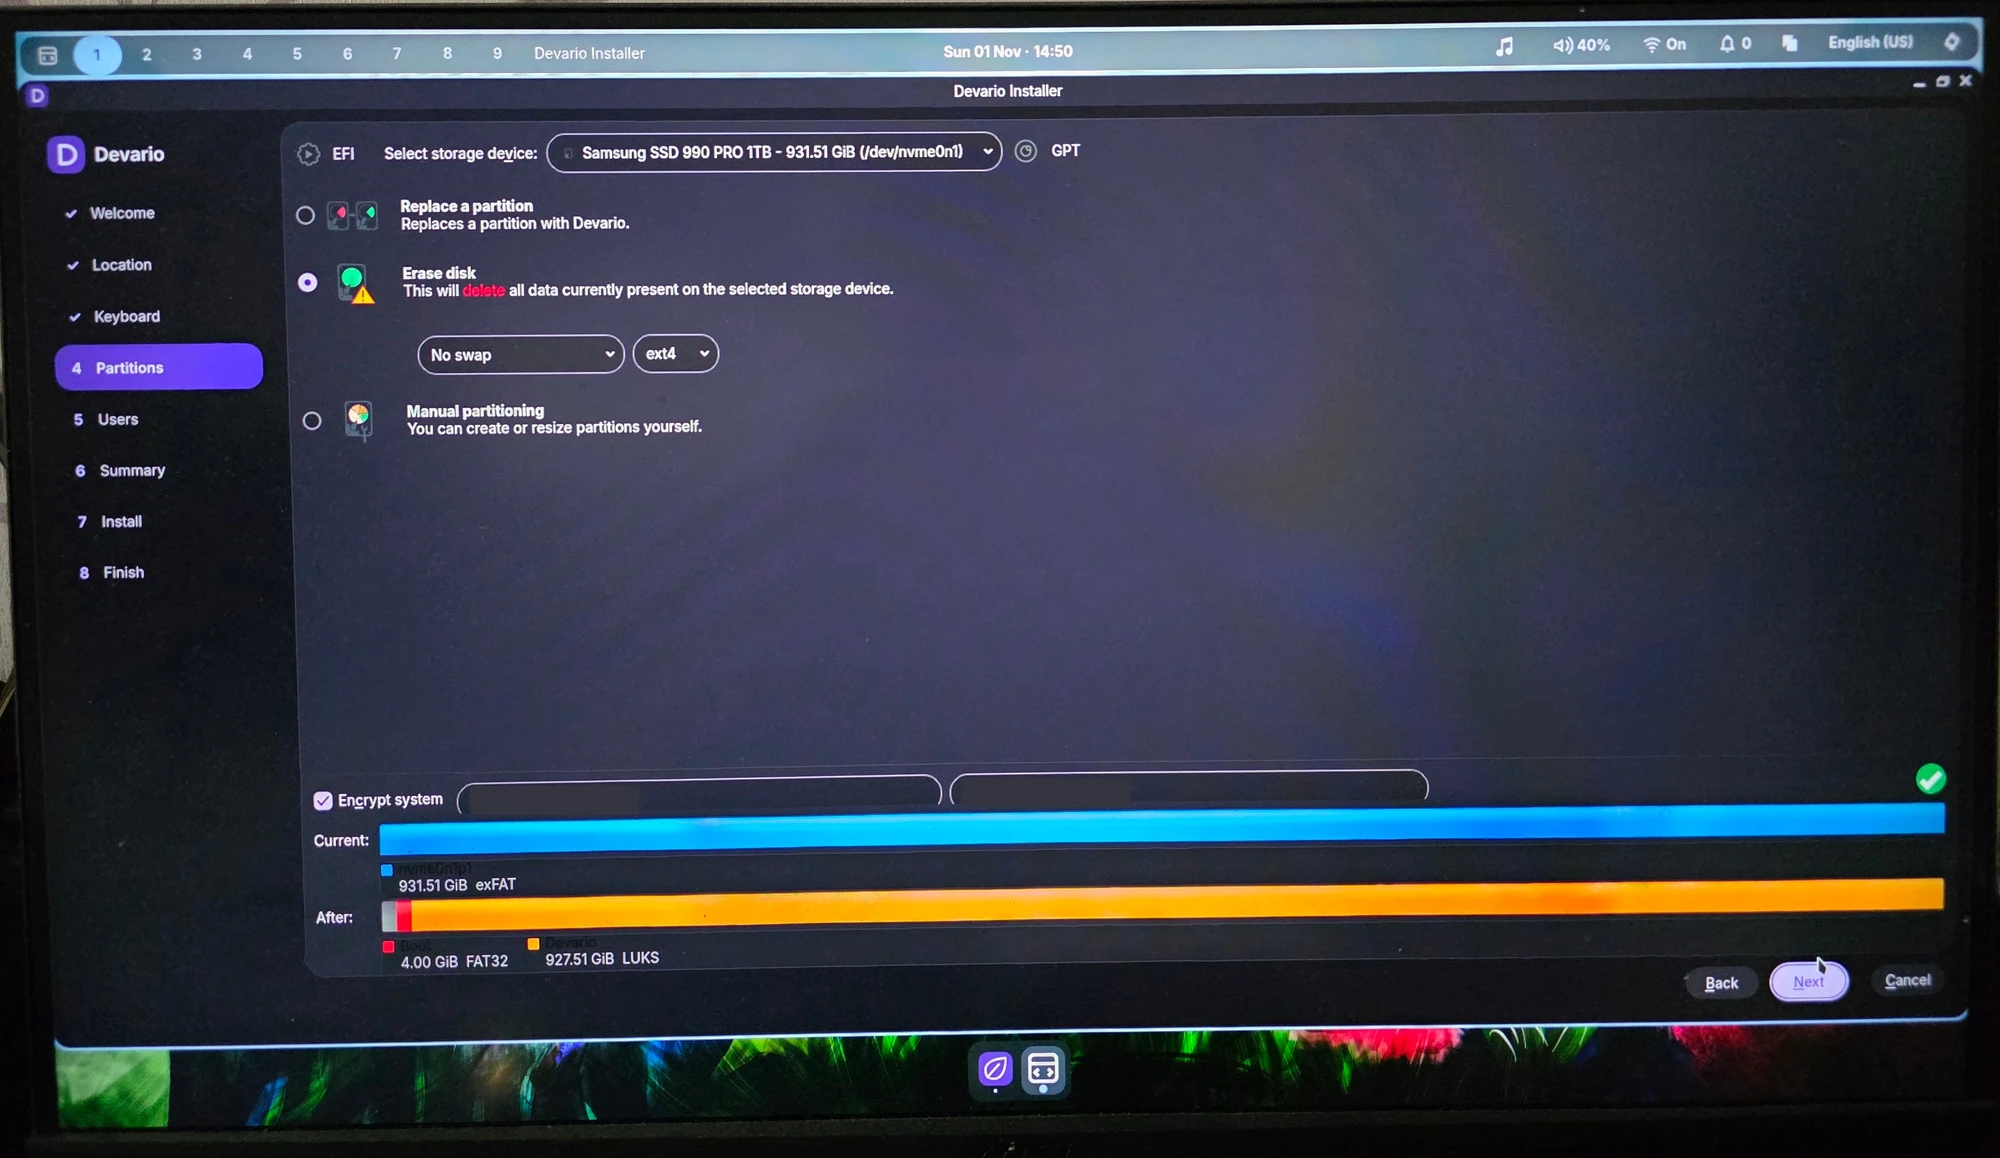
Example only: erase one SSD, use ext4 without disk swap, and encrypt the system partition. Passphrase indicators are obscured.
5. Users
Section titled “5. Users”Enter your name, login name and computer name. Choose a strong account password and enter it twice. This image requires at least eight characters and rejects weak passwords.
Use the same password for the administrator account sets the administrator password to match your account password. If you turn it off, enter a separate administrator password when prompted. This does not change your disk-encryption passphrase. Remember your login name, then select Next.
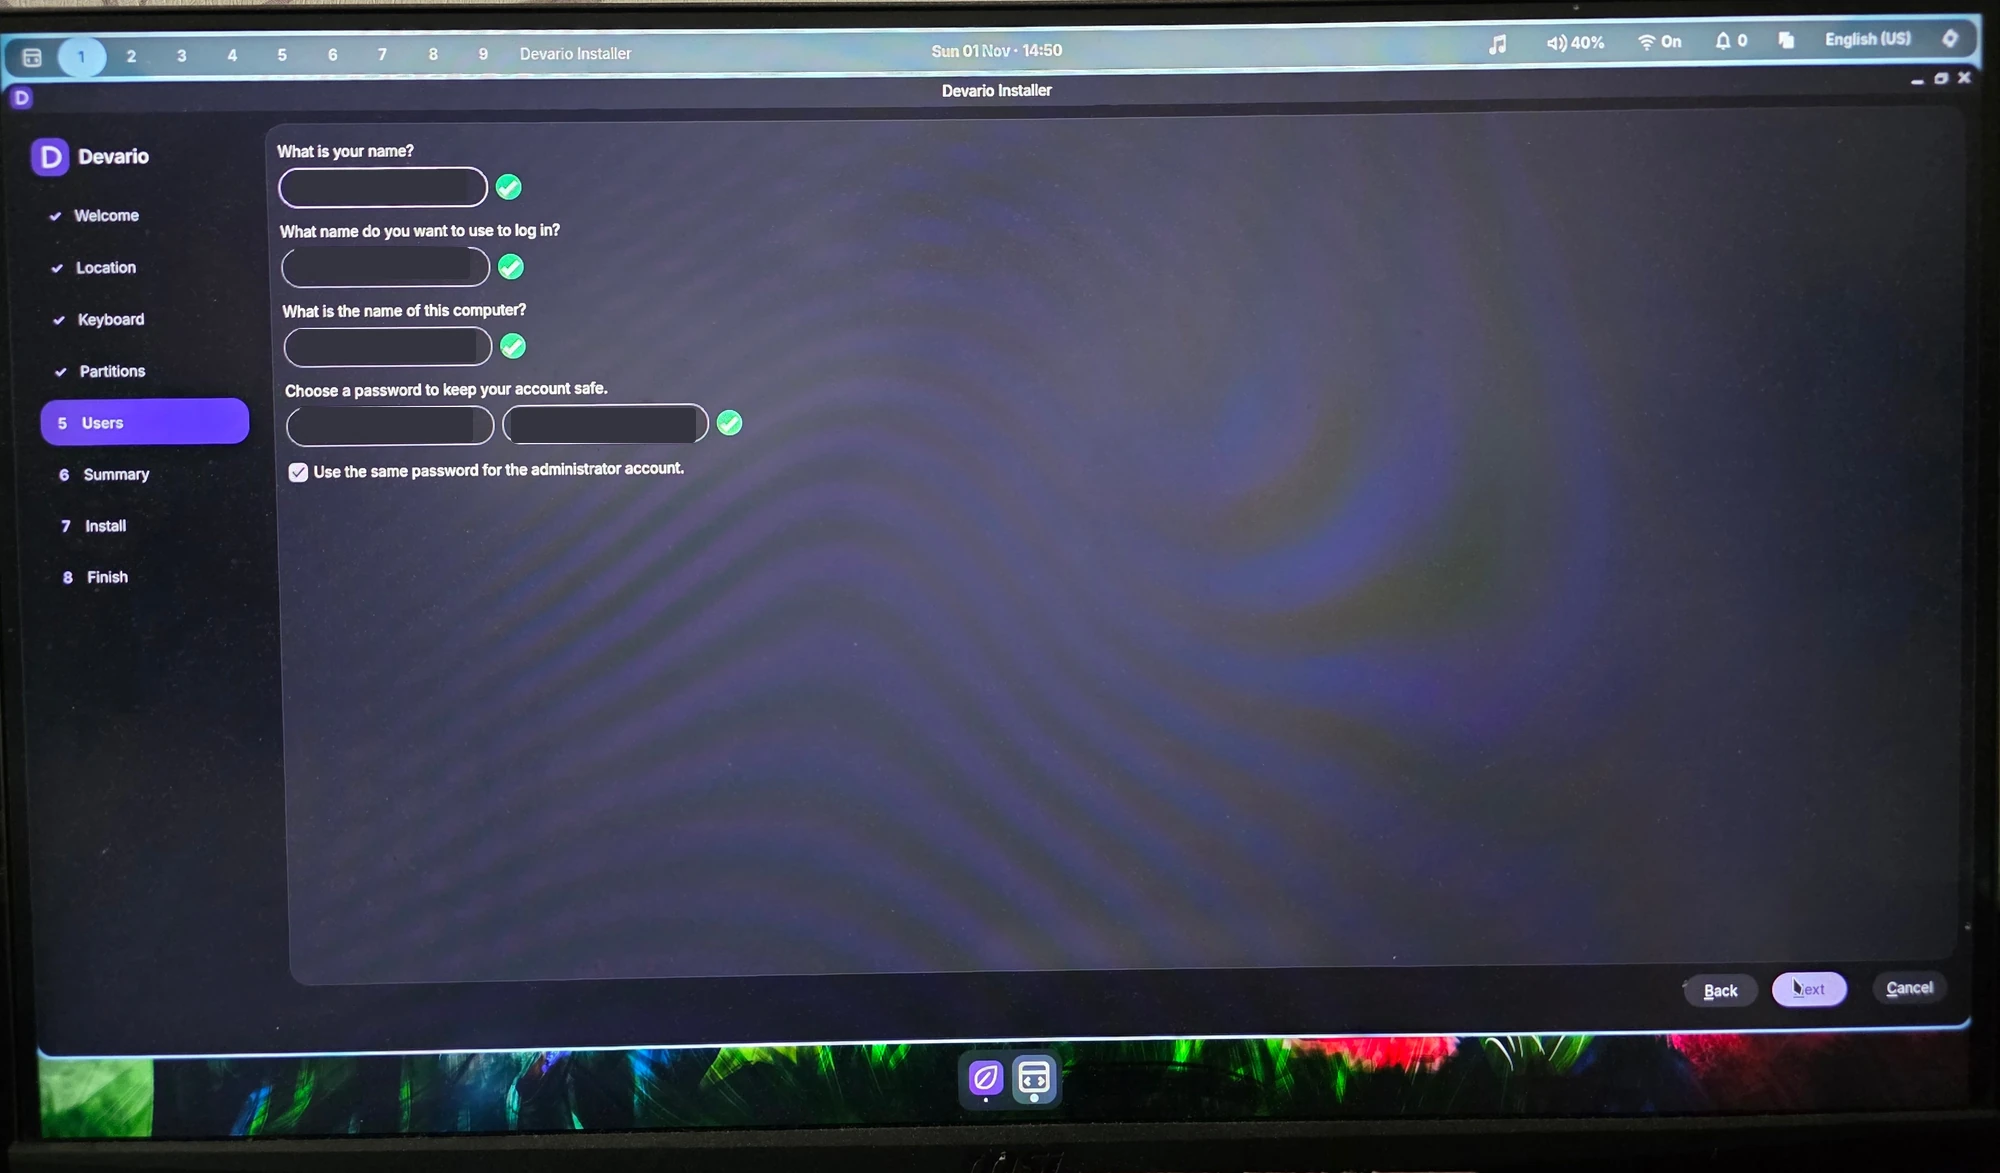
Enter your own account details. Example identity fields and password indicators are obscured for privacy.
6. Summary
Section titled “6. Summary”Before selecting Install, read the whole summary. Check the time zone, language, keyboard, disk model, partitions to be removed and the new layout. Make sure nothing you need will be erased.
Use Back to correct anything that is wrong. When everything is right, select Install and read the final confirmation before accepting it. Once disk changes begin, cancelling or restarting does not restore erased data.
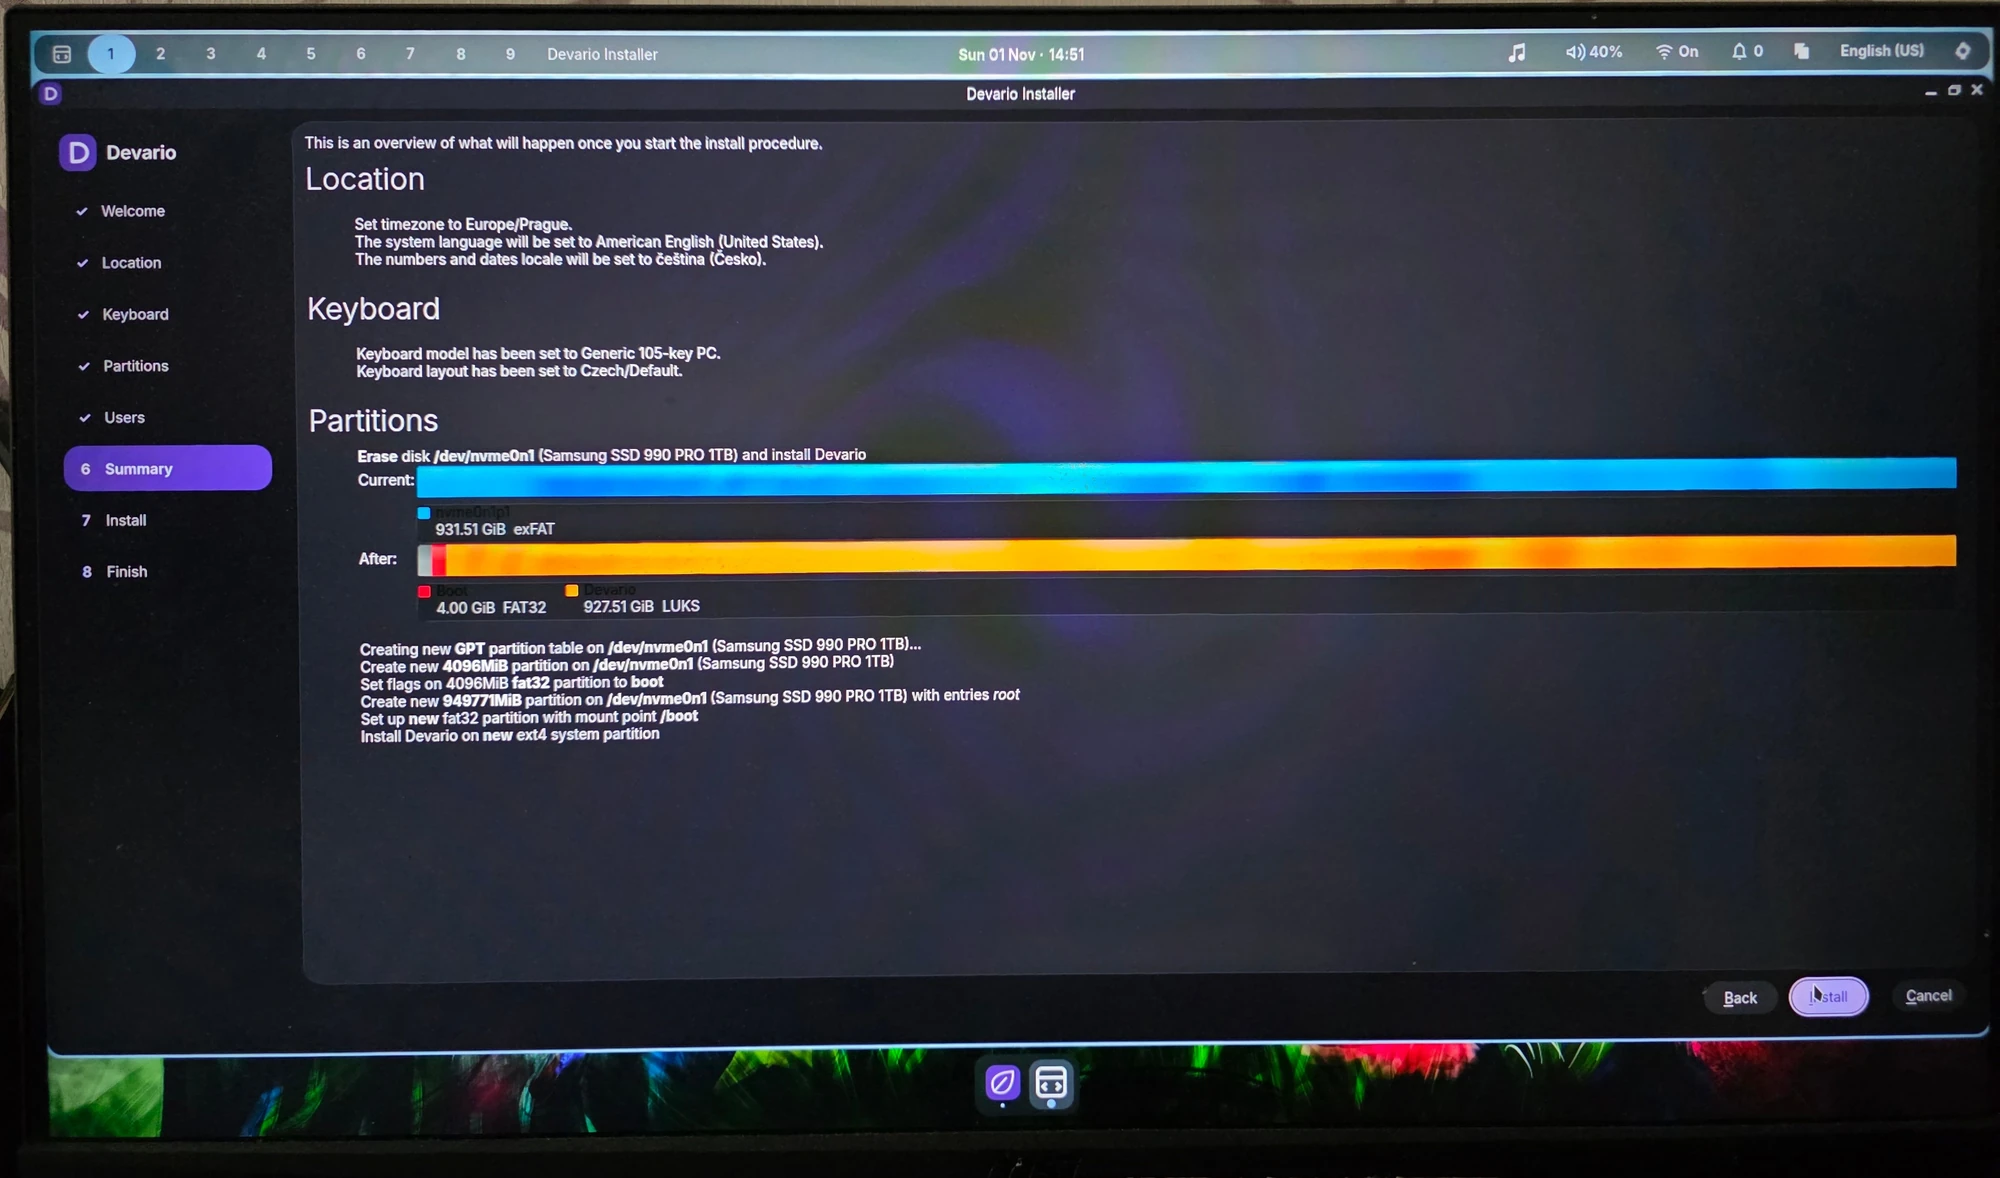
Final review before installation. Read your own disk operations, not just whether the diagram resembles this example.
7. Install
Section titled “7. Install”Keep the USB connected and leave the computer powered on while the installer runs. Installation time depends on your hardware and any package downloads. Use Toggle log to see what it is doing.
The installer also tries to update packages. If it cannot reach or synchronize the repositories, updates may be left for after the restart. A failed package transaction or boot setup is an installation error: save the message and log before rebooting, then ask for help. Do not treat that as a successful installation.
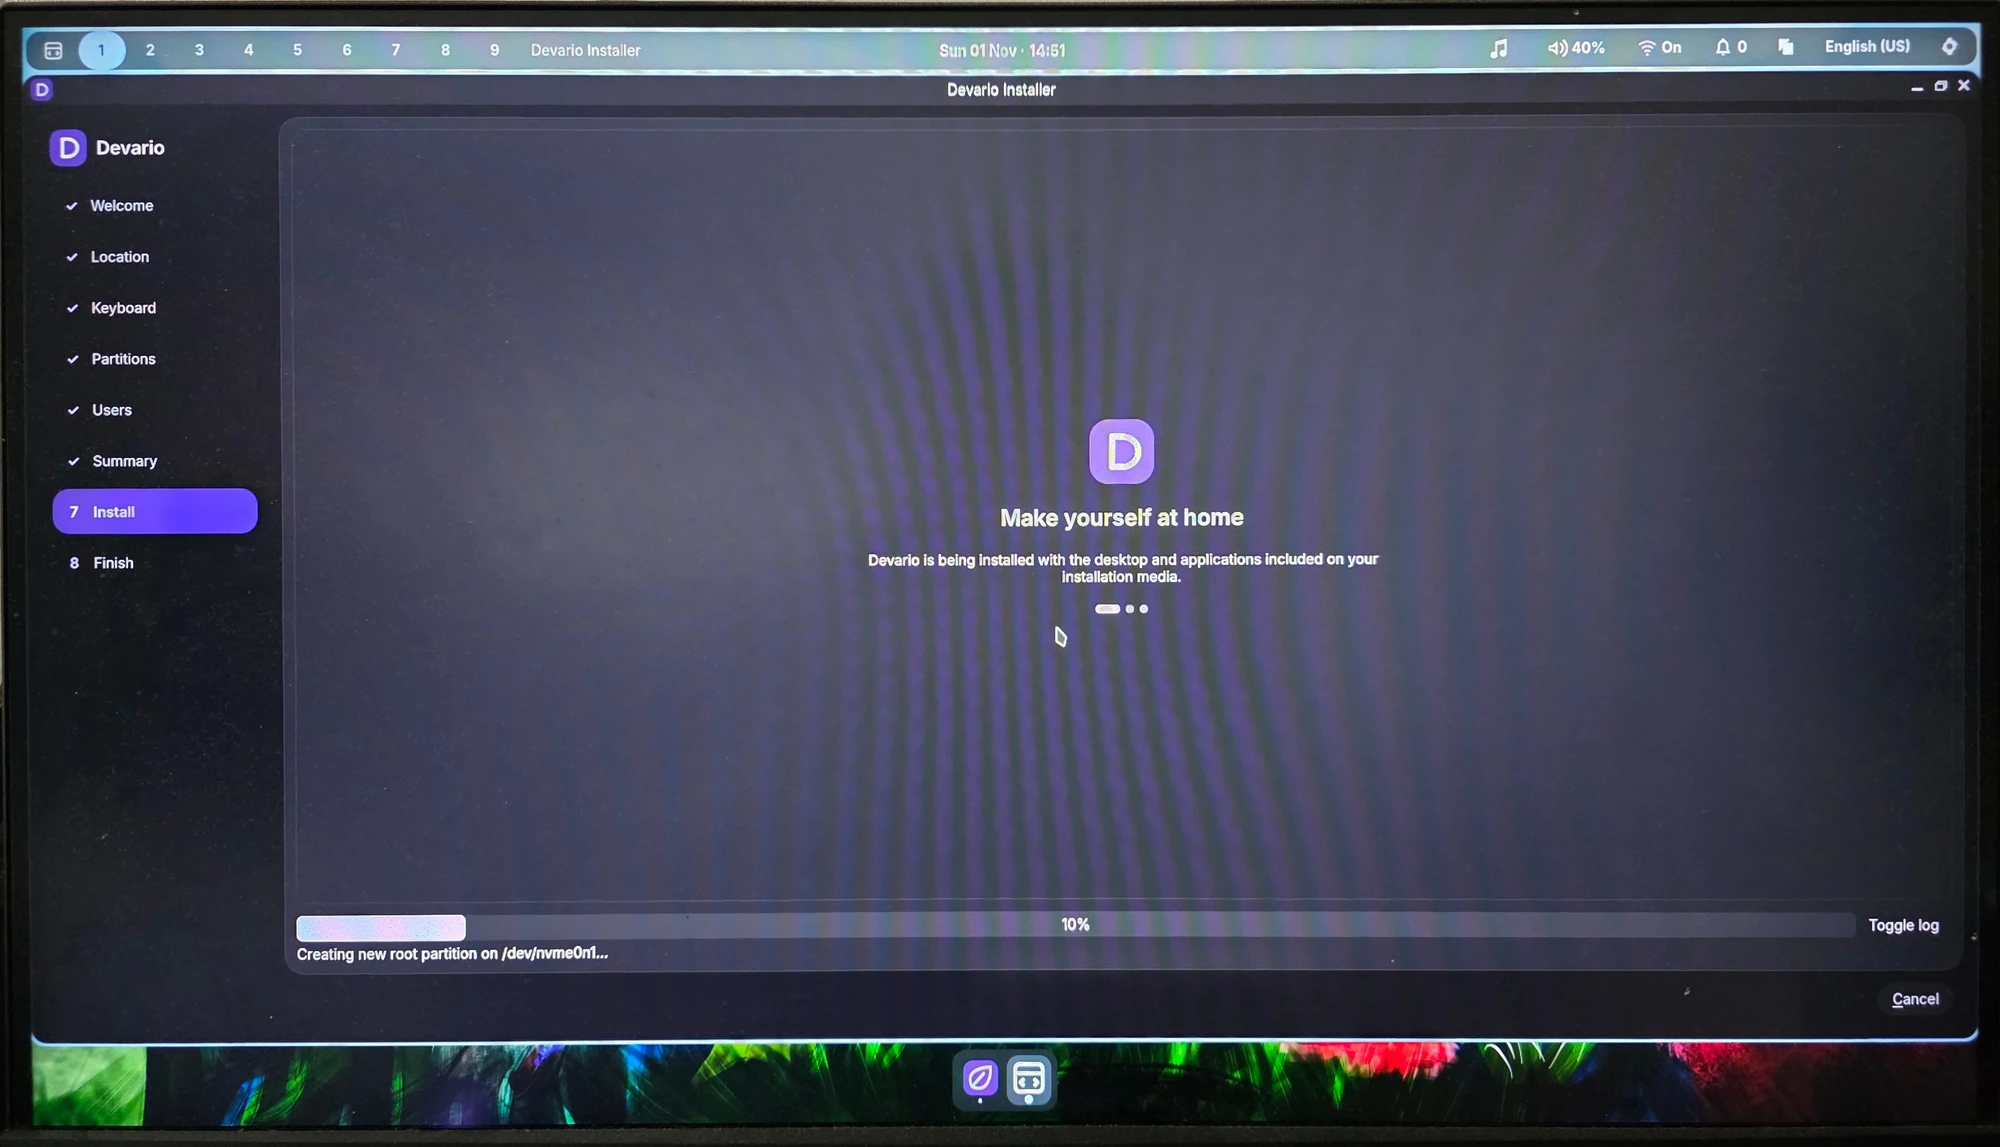
Wait for the Finish page. Do not remove the USB or interrupt power here.
8. Finish
Section titled “8. Finish”When the installer reports All done, enable Restart now to restart, then select Done. Restart now starts unchecked. Leave it unchecked to stay in the live session and restart later.
Remove the USB after the live system has shut down, before the next boot starts. If necessary, choose the internal disk’s UEFI boot entry. If you return to the live desktop, check the boot device rather than running the installer again.
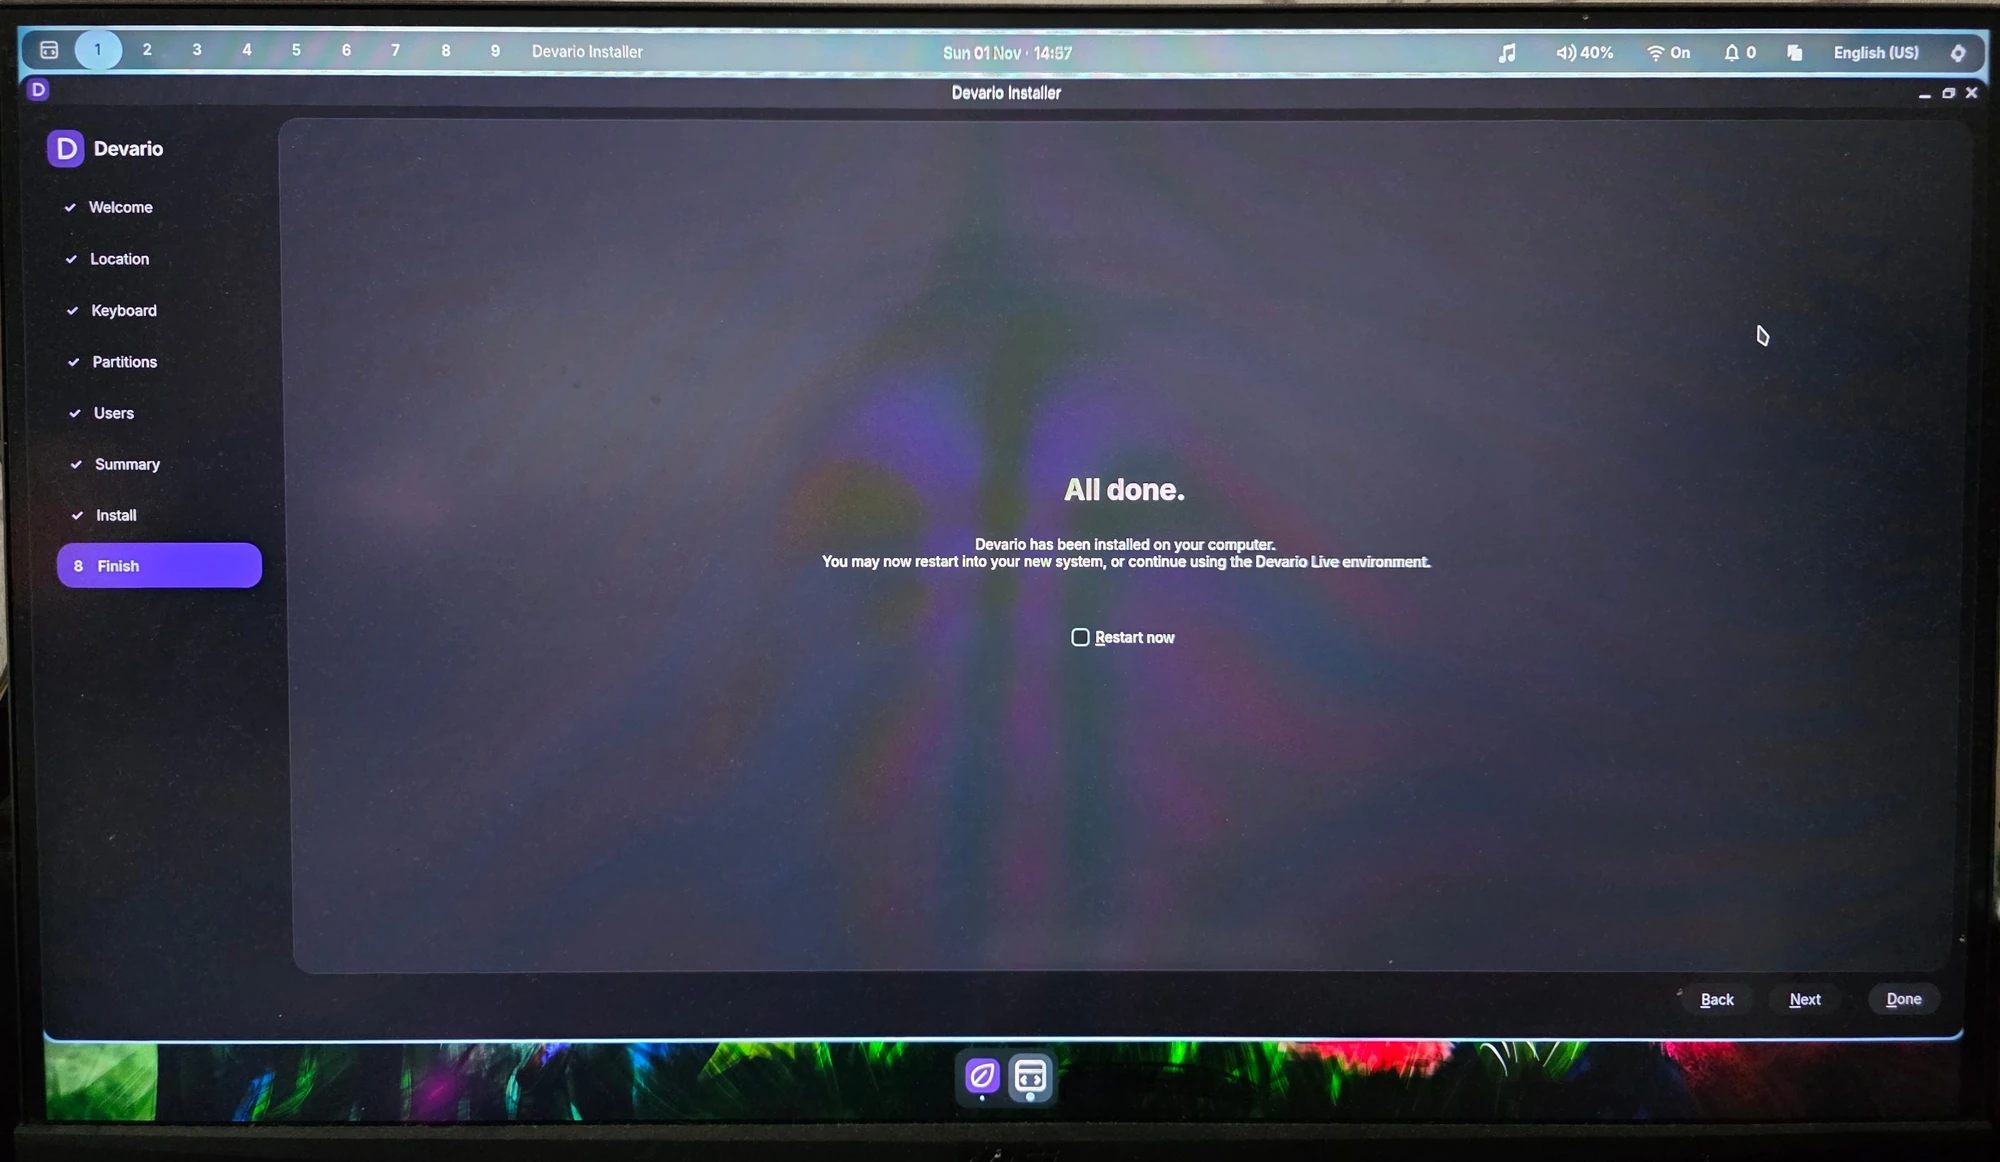
The installer has finished. Next, check that Devario boots from the internal disk.
Check your first login
Section titled “Check your first login”- If you enabled encryption, unlock the system with your disk passphrase when prompted. Check the keyboard layout if it is not accepted.
- At the login screen, use the account you created, not
liveuser. Choose Aqueous if a session selector is shown, then enter your account password. - Check networking, sound, screen resolution and keyboard input. Check the installer, disk-unlock, login-screen and desktop layouts separately; a correct layout in one place does not prove the others are correct.
- Open a terminal, normally with
Super+Return, and runpearlctl status. Open Settings → Aqueous → Input if the desktop keyboard needs adjustment. - Open Shelly’s Update page, check for updates and install them, especially
if the installer could not reach the repositories. Restart if an update asks
you to. Installer update results and logs are kept under
/var/log/devario-installer-update/on the installed system.
For login trouble, see greeter recovery. Continue with Setup and defaults to personalize the desktop, or NVIDIA and laptop GPUs for GPU selection.
Try Devario in a virtual machine
Section titled “Try Devario in a virtual machine”Devario is designed for bare metal, which is the current development priority. VM support has a lower priority, so it may or may not work with your setup.
Zoey reported a successful QEMU installation on October 27, 2026. Compatibility still depends on the image, hypervisor and graphics setup.
Use the same verified ISO, but attach it as the VM’s virtual optical disk instead of writing a USB. Create a new, disposable virtual disk, not a physical-disk passthrough device, so the erase-disk step cannot target your host’s data.
- Zoey’s October 19 VM troubleshooting guidance was 8 GB RAM and four virtual CPUs. This is dated guidance, not a measured universal minimum or a compatibility guarantee. The installer’s lower resource checks do not establish usable VM sizing.
- Enable 64-bit UEFI firmware. Legacy BIOS mode is not an installation path.
- Choose a CPU model that exposes the image’s required x86-64-v3 features. A virtual CPU can hide features that your host supports.
- The graphics path must support Vulkan. A generic 3D acceleration checkbox alone is not a complete setup; see the VM graphics notes for Zoey’s QEMU/Virtio/Venus guidance. Do not assume enabling or disabling 3D is correct for every backend.
- After installation, detach the ISO from the virtual optical drive before booting the installed system.
The QEMU report does not validate the 2026.10.31 image used in this guide. The cited discussions do not establish successful VMware or VirtualBox installations. An October 28 VM greeter regression also shows why the exact package versions matter. Historical launch scripts and workarounds are not a verified recipe for this image.
If something goes wrong
Section titled “If something goes wrong”Stop at the failed step and record the image date, error message, boot mode and relevant hardware. Use Toggle log for an installer failure. Do not repeat disk erasure to investigate a login or update problem. The diagnostics guide explains how to collect a local report; review it for personal information before sharing it with Devario support.